2025 Seed Starting
Spring is here and seed starting is in full swing! At this point, some of the seedlings have even been planted out into the garden. I wanted to write this post though, to talk about the process and things that I use to do my seed starting. I have been using soil blocks for several years now, but this year I used a new soil recipe to create the blocks with. The results have been good so far.
Several months ago I came across a YouTube video from Blossom and Branch Farm with a soil blocking recipe. https://youtu.be/vFokGiK1MhE In the video, Briana broke down each of the ingredients and then showed her trials with the new recipe. This recipe has wool pellets in it, which helps with moisture retention and adds nitrogen. I had been hearing more and more about the benefits of adding wool to your garden or your soil to promote better soil and plant health, so this recipe came to me at just the right time!
The seed starting soil that I had been using was mostly compost that I had from an order I placed a few years ago. It wasn’t great, but it did work and I had some successes with growing. However, the garden has been a struggle since we created it in 2021 and I have been working hard to fix that. There have been a variety of issues, so I have been trying to focus on improving the soil health in a more regenerative way. Which has led me to trying this recipe with my soil blocks in the hopes of finding a better solution.
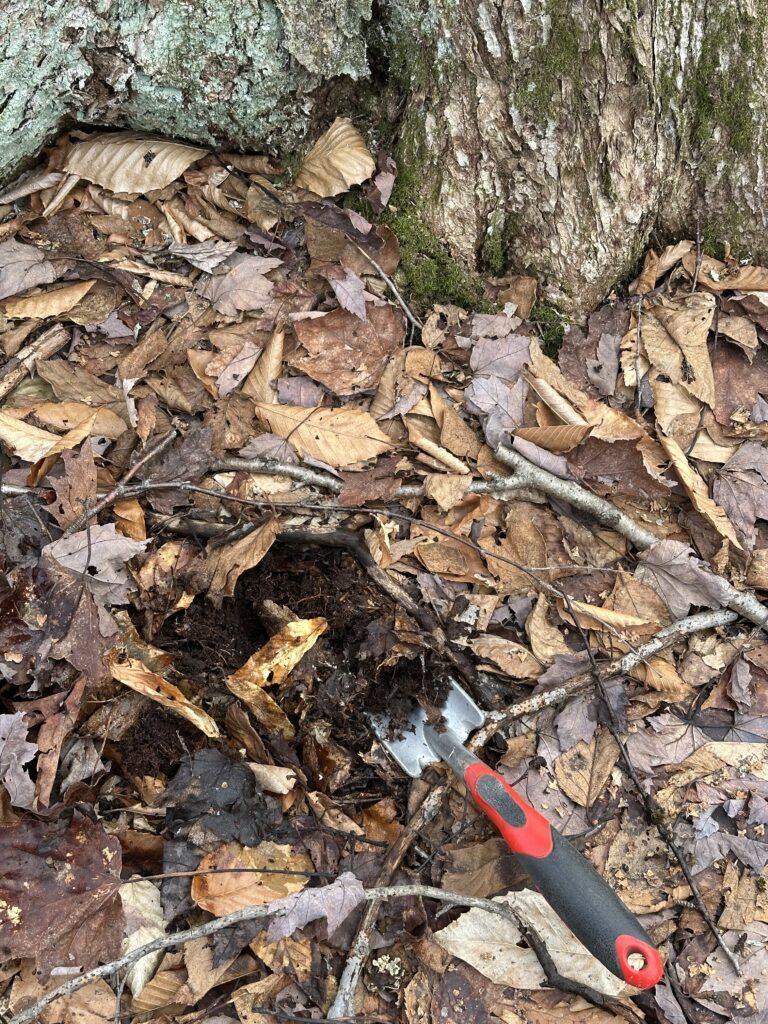
This recipe uses coconut coir, worm casting, vermiculite, and wool pellets. I found a farm in Vermont that sells wool pellets and I ordered some from them. The other items I was able to find at a garden/farm store. In the video, Briana blends the wool pellets a bit before soaking them and adding them to the mix. I followed the instructions that she had given to make the mix, except I also added a couple of handfuls of leaf mold too. I live in the forest and have easy access to leaf mold, so I thought it would be good to add some in to the mix to add in some local microbes.

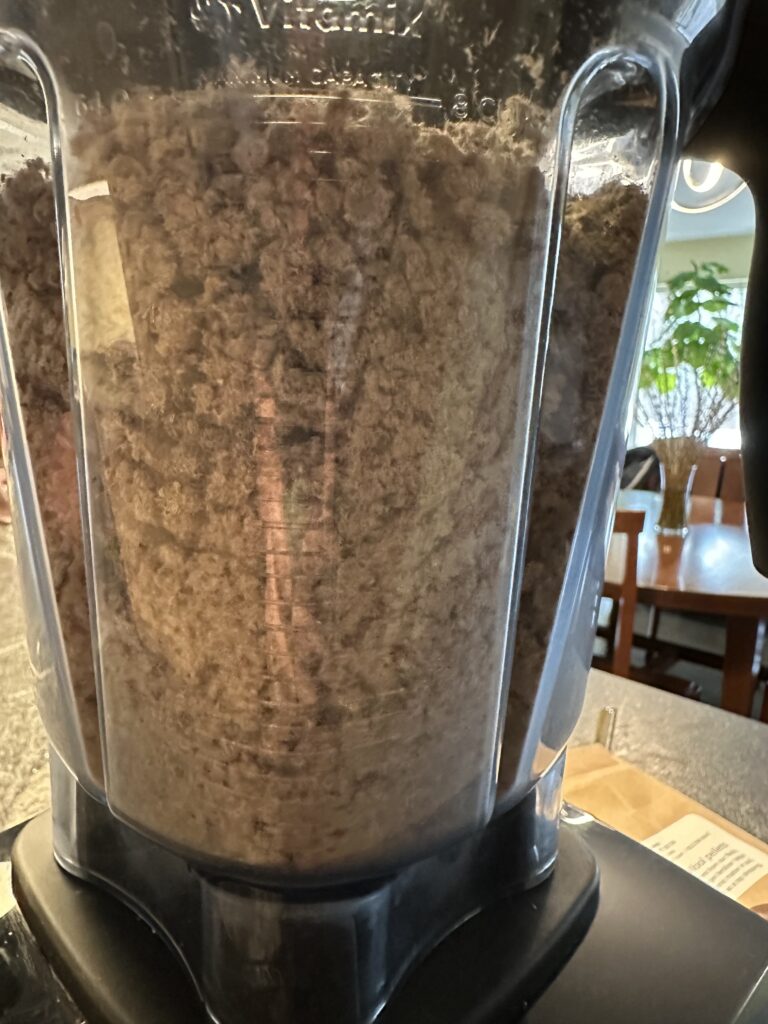
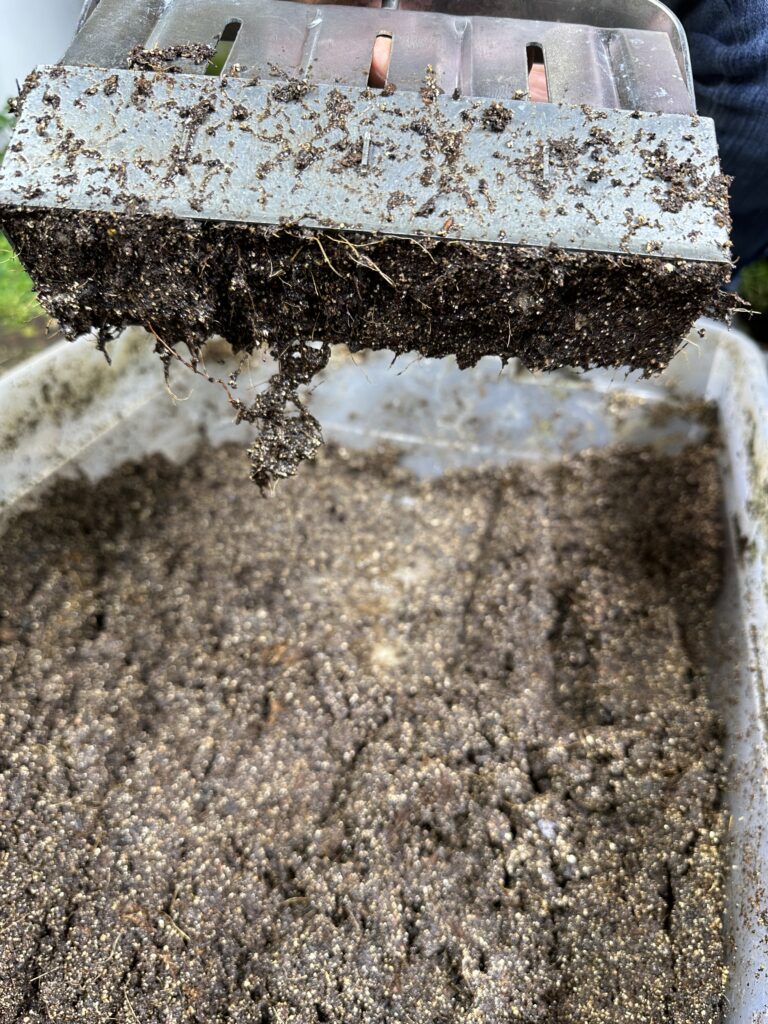
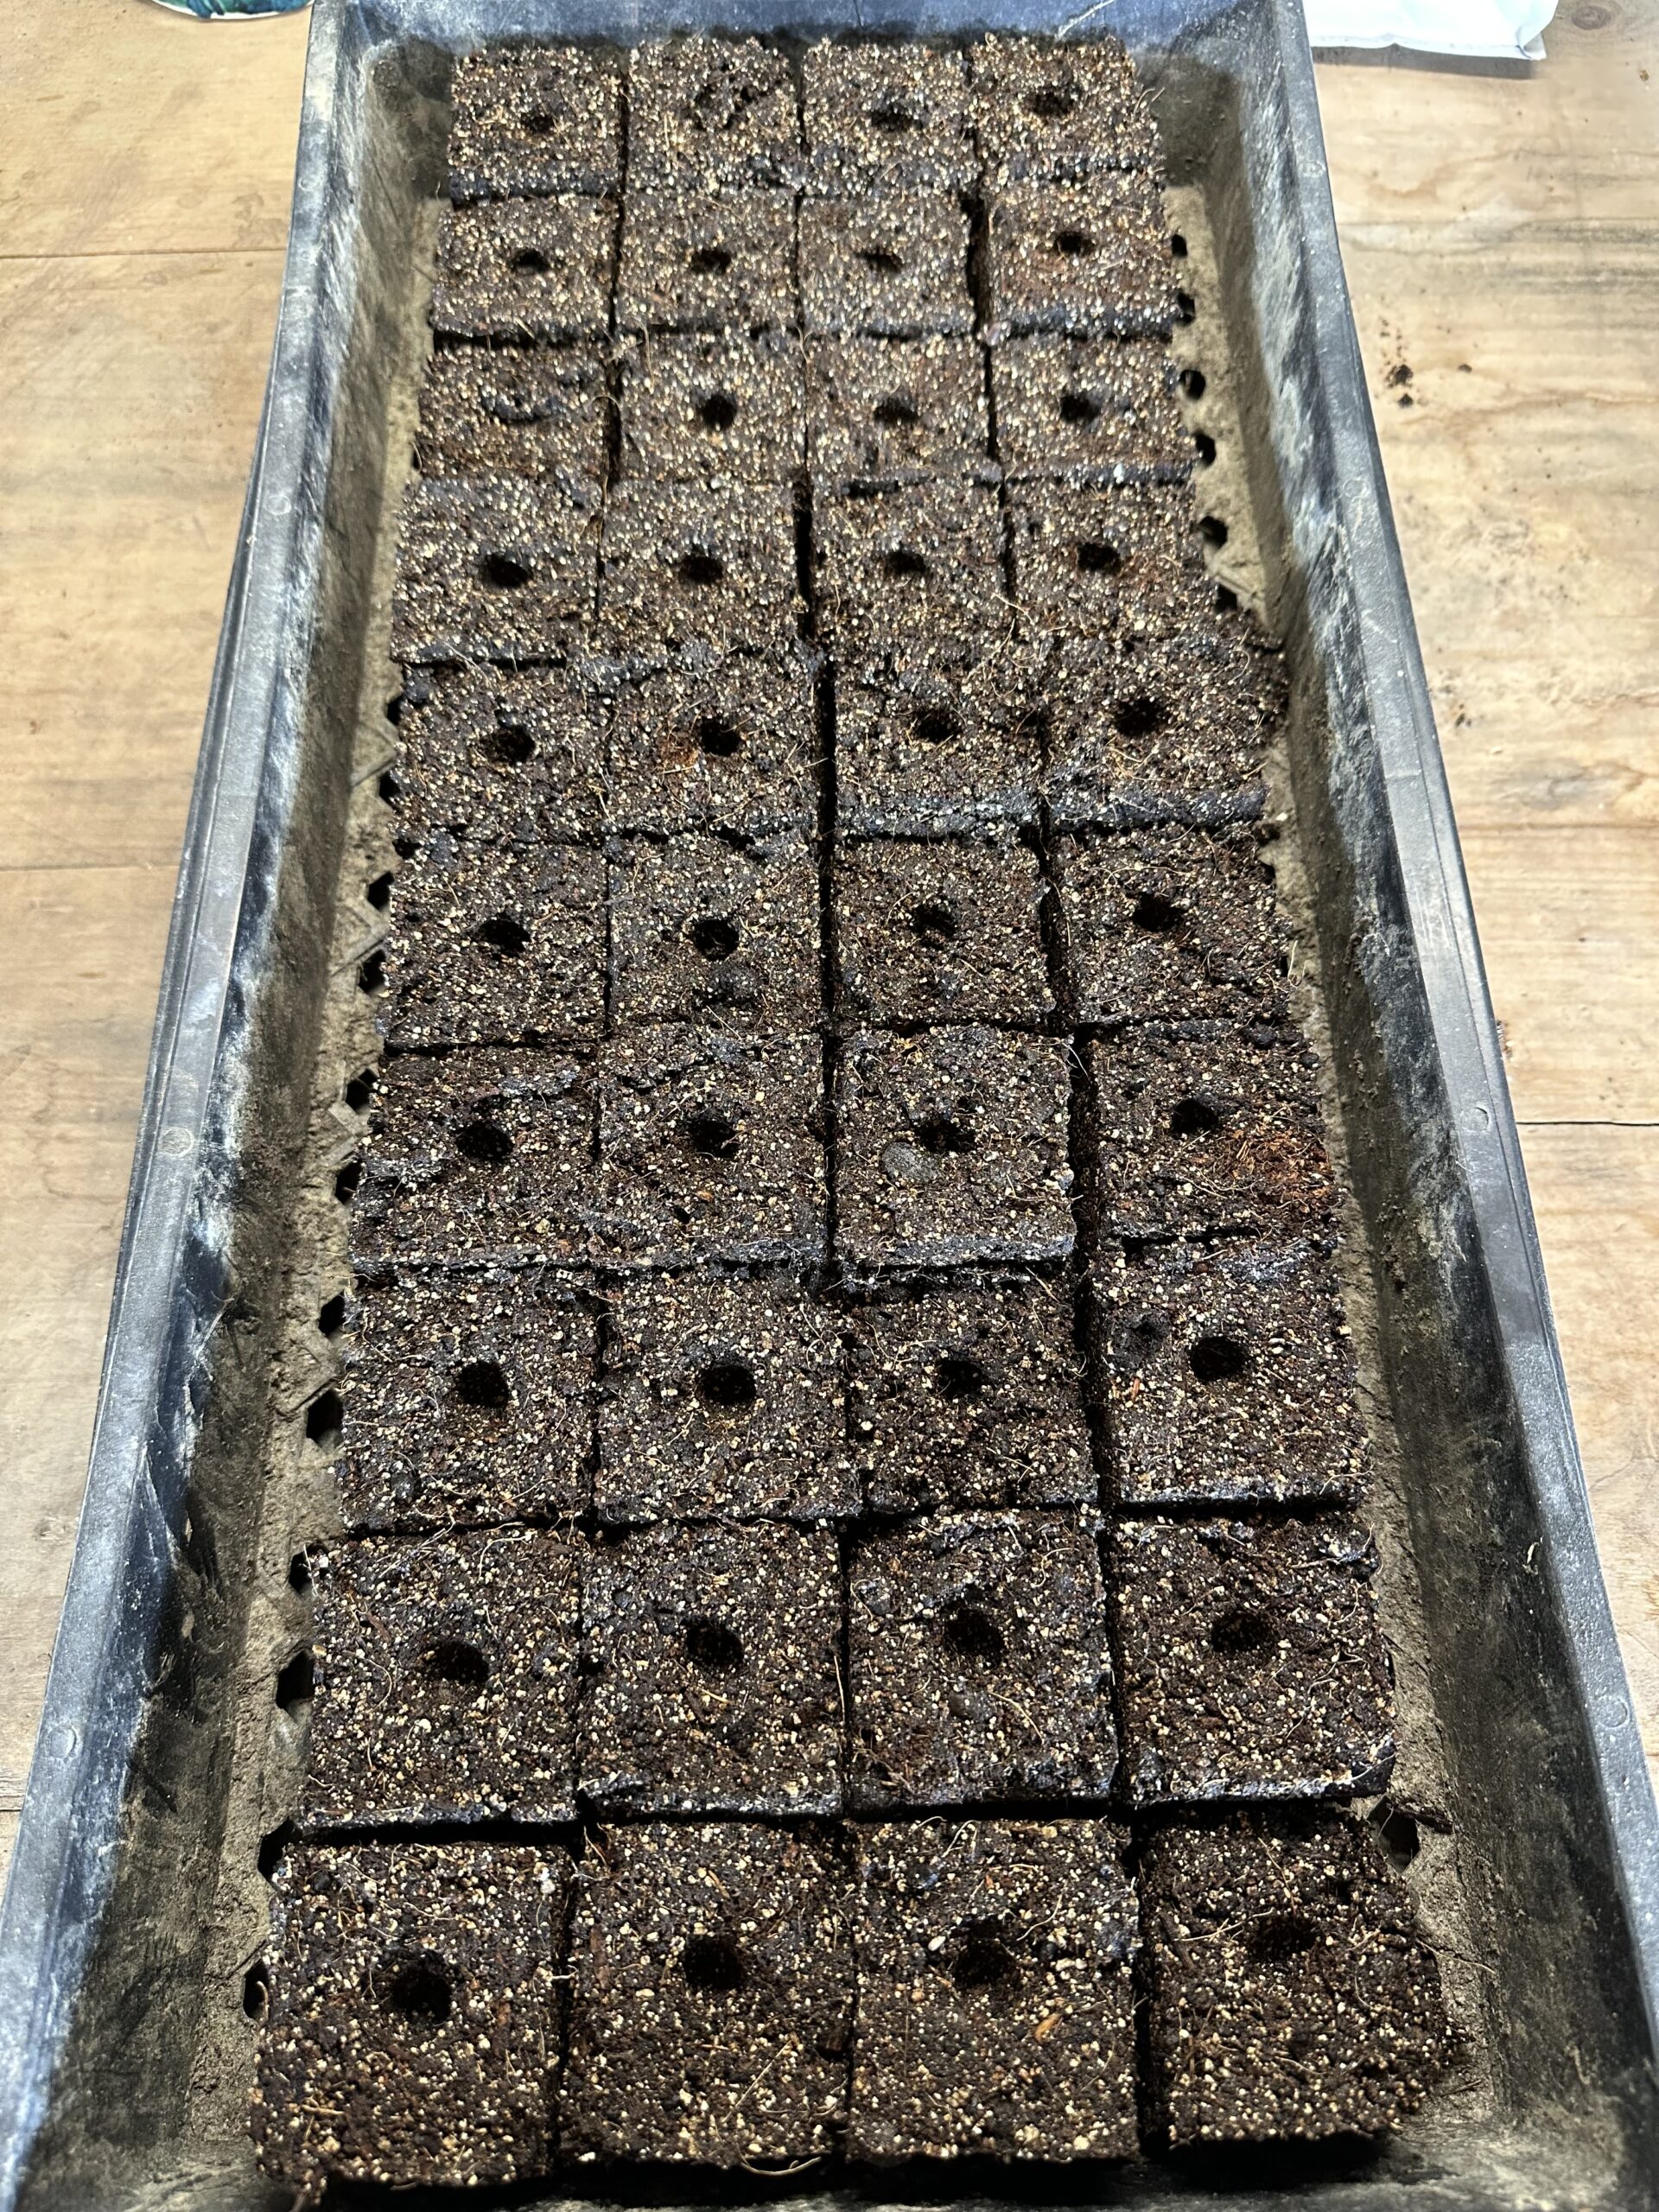
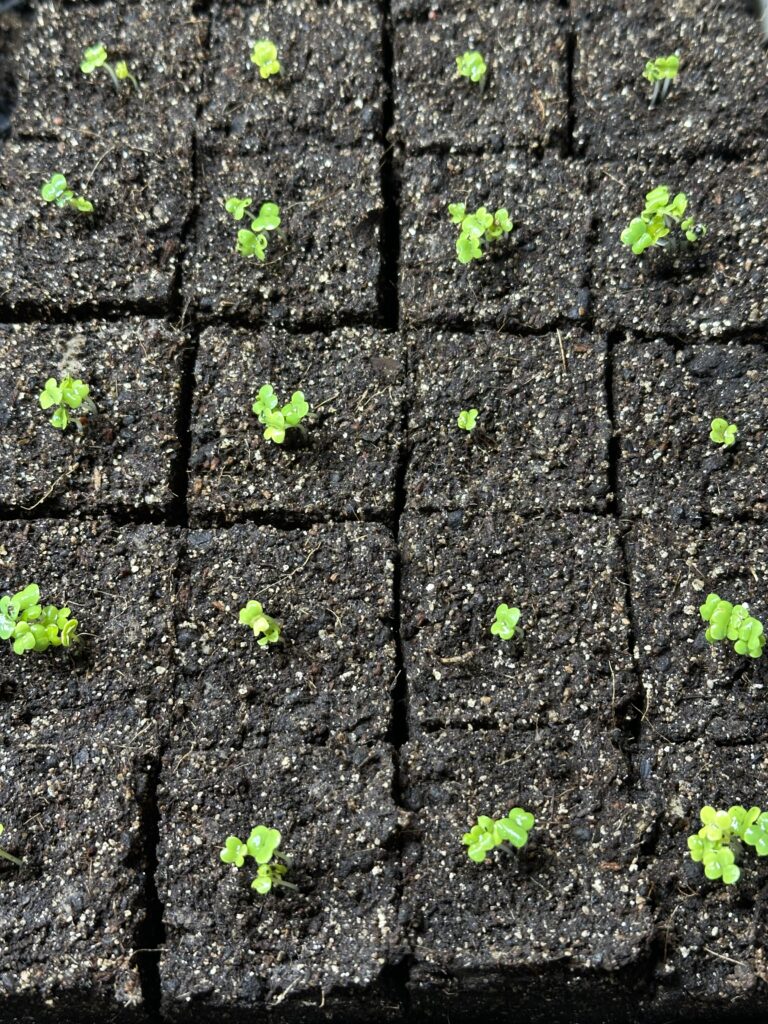
The ingredients came together really well and I was able to make blocks with it very easily. I’ve been using the 1020 plastic trays that I have had for many years, to start my seedlings in. I can fit up to fifty 2” x 2” blocks in each tray. It can be a bit tight to have fifty blocks in there, so I went with forty blocks per tray to give the seedlings some space. When there are fifty blocks in the tray there is very little space between each block, which means that the air pruning of the roots that will naturally happen doesn’t happen. Instead, all of the roots will venture out into other blocks and make separating them more challenging and more traumatic for the roots.


Seed starting went well with this new recipe. I wasn’t able to put leaf mold in every batch because there were periods of time when the ground was covered with snow and I wasn’t able to get any. It didn’t seem to make much of a difference with the seedlings that had leaf mold and those that did not. Now that it is later in the season and much warmer, I will add leaf mold to the batches that I make. I may also try to collect a bunch of leaf mold before the snow comes, so that next spring I will be able to add it to each batch that I make.
Germination rates were good; however, I was working with some older seeds and they were not as high as they would have been with newer seeds. This season I am trying to use up as much of my older seed as I can, so I can get new seeds for the next season. When we moved up here I went a bit overboard with seed purchasing and I have way too many. There are seeds that can stay viable for many years, but the fresher they are when you plant them the better.

I am very happy with this seed starting/soil blocking recipe and I will continue to use it going forward. I would love to get away from using the bagged inputs, but it seems that for seed starting I will need to keep using them until I can find a better solution. For now I am very happy with the results and I hope that the seedlings will flourish in the garden!


Happy gardening!